With a little spare time and a lot of free materials I was able to build a half rainbow slider that was relatively easy to build. Most of the riders in my area are new to sliders and can be easily intimidated by a large kicker or even a gap slider. So with that in mind, I wanted to build a slider that wasn't large and intimidating. A half rainbow slider was decided to be the best basic entry level slider. I wanted it no more than four feet out of the water so that it required no jump to or ollie to get onto the PVC would make for a great, fun, and safe slider.
Materials used:
2X4s and 2X6s
55 gallon plastic drums
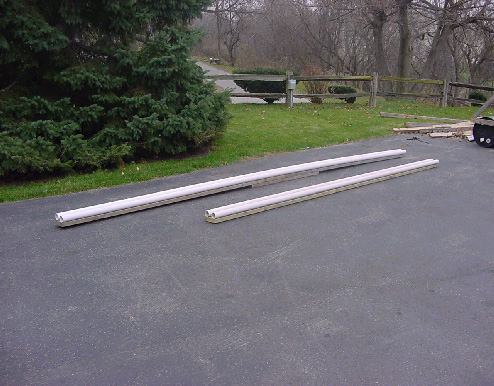
2� standard PVC in 20 ft lengths
3� exterior wood screws
10-28 or 1/4-20 toggle bolts at least 3� long
PVC internal unions
PVC cleaner and cement
3/8� plywood
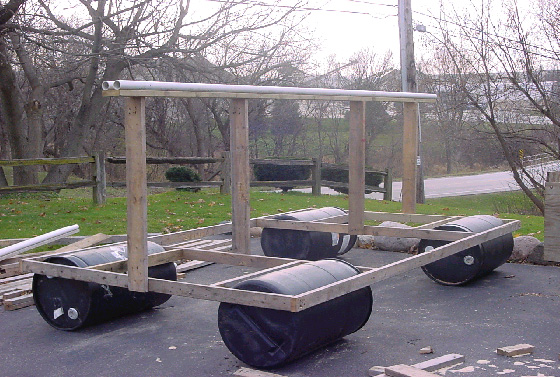
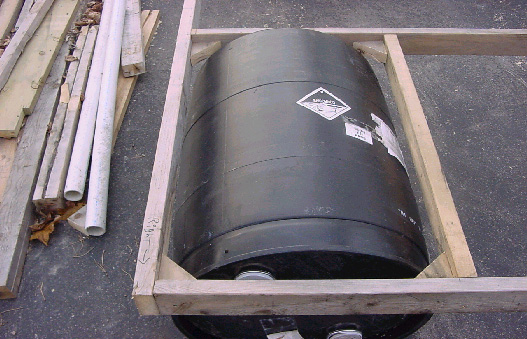
The basic frame holding the 55 gallon drums is the first thing I made. The frame is made up of all 2X4s. The length is approximately 12 feet and the width is six feet (shown in Figure 1). In all four corners, I boxed in a 55 gallon drum and made the boxed in area small enough that the barrel would not fit all the way through. I also put in 45 degree gussets to add strength made of 2X4 material in each inside corner of these boxed in areas (shown in Figure 2).
(Figure 1)
(Figure 2)
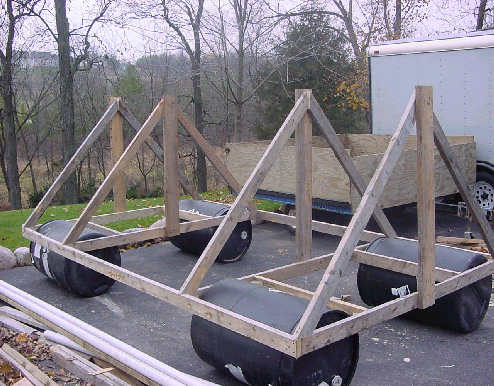
I then added the supports for the main slider beam, which are approximately four feet high and are made of 2X6s (also seen in Figure 1). There are four of them total. I then added the 45 degree angle braces to the side of these main slider supports to prevent any side to side or left to right movement (shown in Figure 3). These also will serve as supports for the plywood that is attached later on. 2X4s were used for these 45 degree angle side supports.
(Figure 3)
I then added supports inside of the main slider supports with 2X4s to prevent any back and forth or front to back movement. These were mounted on a 45 degree angle and 2x4s were used for the material (shown in Figure 4).
(Figure 4)
Then the PVC was mounted to 2X6s. Since I did not have 20-foot lengths of 2x6s, a "scab" was needed to join two lengths of the 2X6s (shown in Figure 5). For the "scab" I used a 1x6 of solid pine. Pine is a soft wood and will bend easy when putting the arc of the front end of the slider together. In Figure 5 you can see the scab is on the bottom in the middle. Click the image to see a larger picture.
(Figure 5)
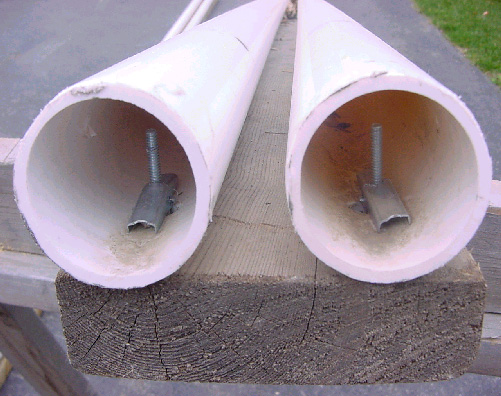
Next, 2" PVC was attached to the 2X6s with standard toggles bolts you can buy at any hardware store (shown in Figure 6). I was fortunate enough to find a large hardware store that sold them by the bag full. I used a toggled bolt every 4 feet. The key to getting your toggle bolts to work properly is to make sure that the toggle portion, or the nut, is turned in the direction which would be running the length of tubing or in-line with the tubing (as shown in Figure 6).
(Figure 6)
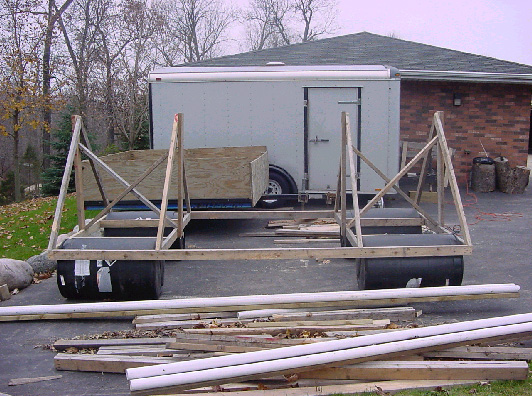
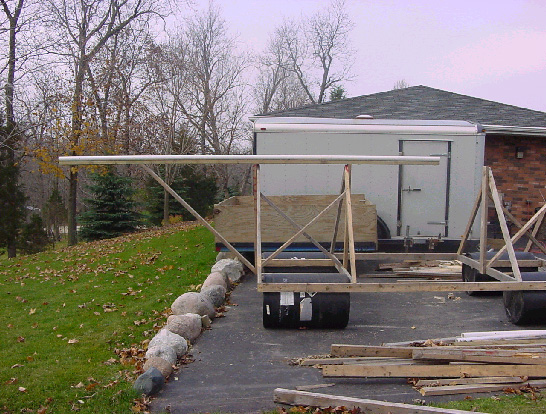
With the PVC now attached, I put on the rear slider section onto the frame work. Shown in Figure 7, the rear slider section was overhung off the backend of the frame work about 6 feet. I then added a 2x6 at a 45 degree angle for support.
(Figure 7)
The front slider section needed to be put together to the rear section with out any gaps or any uneven surfaces so wakeboards will slide over this part with out catching the edge of a riders board. I used a couple of internal PVC unions typically used with the flexible grey type PVC. These unions have barbed ends on them and can be pounded inside of the PVC tubes with a soft rubber hammer. Apply PVC cleaner and cement to both the male and female ends before pounding these in.
(Figure 8)
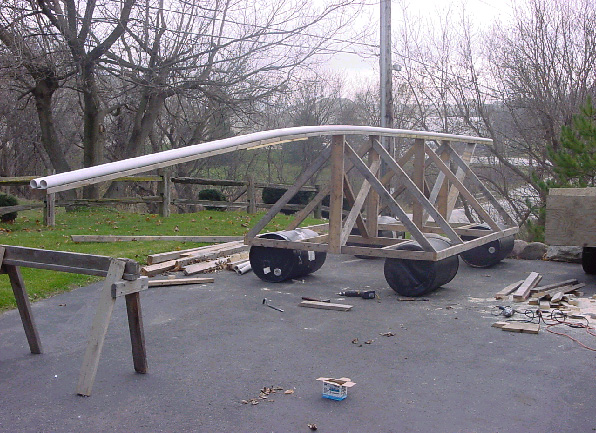
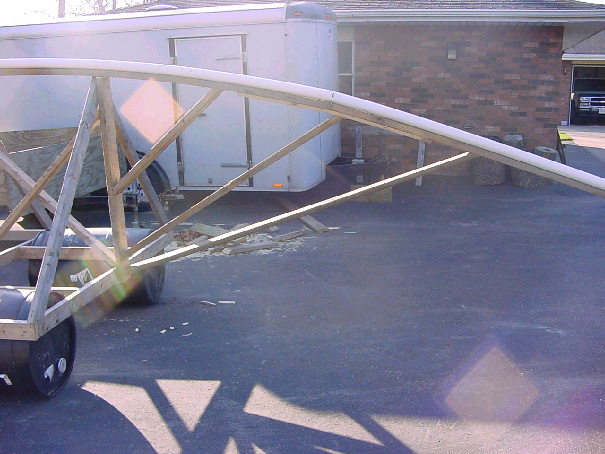
Now the front end needed the arc put in it so the PVC tubing would be under water. I started by adding 2x6 braces off of the 2x6 uprights supporting the main slider beam (shown in Figure 9).
(Figure 9)
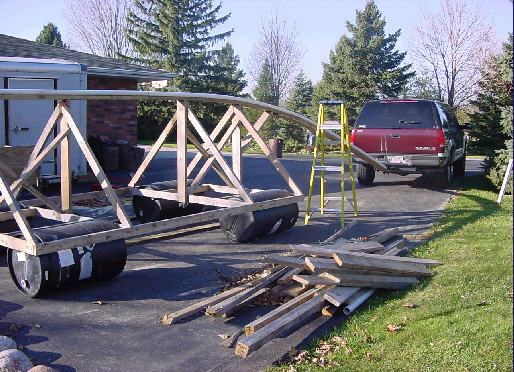
The main concern was to apply braces evenly throughout the arc to be able to take the beating of riders sliding or falling on their way up. You�ll need at least 2 people to hold the arc were you want it to be while applying the braces. I used my truck (Figure 10).
(Figure 10)
Once all the braces were put in place to keep the arc in the beam, additional support was put on so the front of the slider would not sway left to right. 2x4s were run from the each of the front corners on the frame holding the barrels to the lowest brace creating the arc. These new supports eliminating the left to right sway, would also become a support for the plywood later attached to prevent any rider falling off the slider on their way up. The only thing left at this point was to cover the sides with plywood. Shy of a paint job this one is finished and ready for the water.